Hiking Skills
Use a Paper Map on a Hike
Explain map orientation, legend, scale, grid, route correlation, and why an appropriate map is still a useful backup.
On this page
Choose a map that matches the route
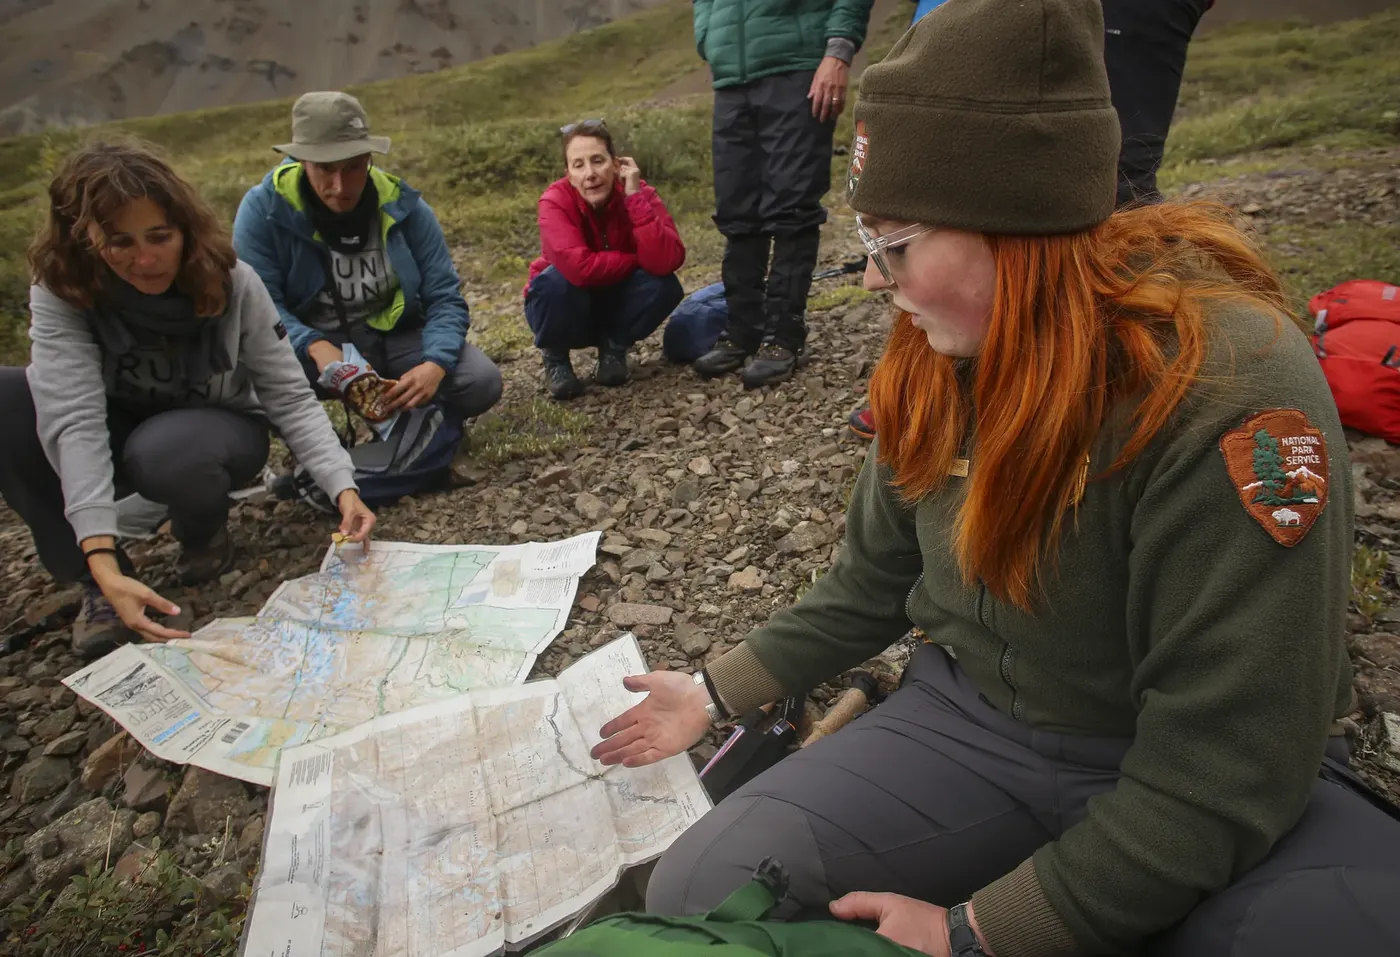
Use a current, legible map that covers the trail and the area around it. Check its scale, legend, publication date, and whether the route is shown by the organization responsible for the land. A park overview may help with access but may not contain enough detail for navigation. A topographic map adds terrain information; a trail map may show junctions and facilities. The map should cover your backup and likely exits, not just the intended line.
Protect a paper map from rain and damage in a way that still lets you consult it. Before leaving, identify the trailhead, planned route, junctions, water or facilities that are actually confirmed, and a return option. Marking a route is useful only if the mark does not obscure map features. Do not assume that a printed line proves a trail is open or passable today.
Orient the map to the ground
Most maps place north toward the top, but confirm the north arrow and grid information. Turn the map so its directions match the landscape. Identify large features you can verify, such as a ridge, river, coastline, or road, then locate the trail relative to them. A compass can help orient a map, but nearby metal and electronic devices may affect readings; follow the compass maker’s guidance and practice away from interference.
Use the legend to understand line types, colors, contour intervals, and symbols. Scale helps estimate distance on the map, but walking distance and time can be longer than a straight-line measurement because of bends, elevation, surface, and stops. A route line may not show every obstacle or current closure.
Track progress at identifiable points
At a junction or distinctive landmark, stop and compare the map with what is around you. Follow the route from the last point you confidently identified rather than guessing from a general sense of direction. Keep track of which trail segment you are on and what features should come next. If the view or sign does not match the map, pause before proceeding; do not walk farther in the hope that it will become clear.
If you are unsure, return to the last known point when that is safe and compare the route again. A paper map does not locate you automatically; it is one part of a navigation system, along with observation, route notes, and appropriate skills. For remote or complex terrain, get instruction and bring the tools suited to the route.
Read the map before you need it
At home, trace the planned route with a finger and name the next few junctions. Notice where a road, stream, ridge, or trail crossing can help confirm your position. Estimate how large those features look at the map’s scale, then compare them with a familiar place. This short exercise helps a beginner use the legend and scale without stopping in a stressful moment. Bring a map that shows the backup route and access roads too; a close crop of the planned line may leave out the safest exit.
Fold the map so the area you need is available without exposing the entire sheet to rain or wind. Keep it in a protective case if the weather or terrain requires one. Make sure the symbols remain readable through any cover. If you mark the route, use a removable or light mark so the map can still be read and reused. Store a second copy with another group member if losing the only map would create a problem.
Use a repeatable junction check
When the group reaches a junction, pause in a safe place and identify the sign, trail names, and direction of travel. Orient the map, compare the last known location with visible terrain, and point out the next feature to expect. Have another person confirm the choice when possible. If the signs are missing or the map and ground disagree, do not choose the most attractive-looking branch and hope it is correct. Recheck the last confirmed point and use the official route information.
Do not wait until people are tired, cold, or losing daylight to learn where they are. A short position check can keep a minor uncertainty from becoming a long detour. If the group cannot confidently locate itself, stop and use the recovery procedure practiced before the trip. Ask for help through the local emergency system when the situation requires it.
Decide what belongs in the backup kit
Choose a paper map and compass that match the route, scale, and terrain, and learn the basic skills before departure. A compass is not useful if no one understands its relationship to the map. Conversely, a map alone may be insufficient in featureless terrain or poor visibility. For routes with serious consequences for navigation errors, take formal instruction and choose an outing within the group’s demonstrated ability.
At the end of the hike, note whether the map showed the junctions and access points you needed. Replace a damaged or outdated sheet, but always check current closures separately. The map supports a decision; it does not prove that the trail remains open.
FURTHER READING
Sources and scope
These references support the general principles above. Their geography and publication dates vary; check the current local authority for your trip.
- Ten EssentialsU.S. National Park Service
NPS explains this as a starting point that may need additions for a particular activity or place.
- Trip Planning GuideU.S. National Park Service
US national park context; use the workflow as an example and direct visitors to their local land manager.
TAKE THE NEXT STEP