Hiking Skills
Use a Compass with a Map
Describe the parts and basic map-orientation workflow; distinguish a beginner overview from formal navigation training.
On this page
Learn the tool before relying on it
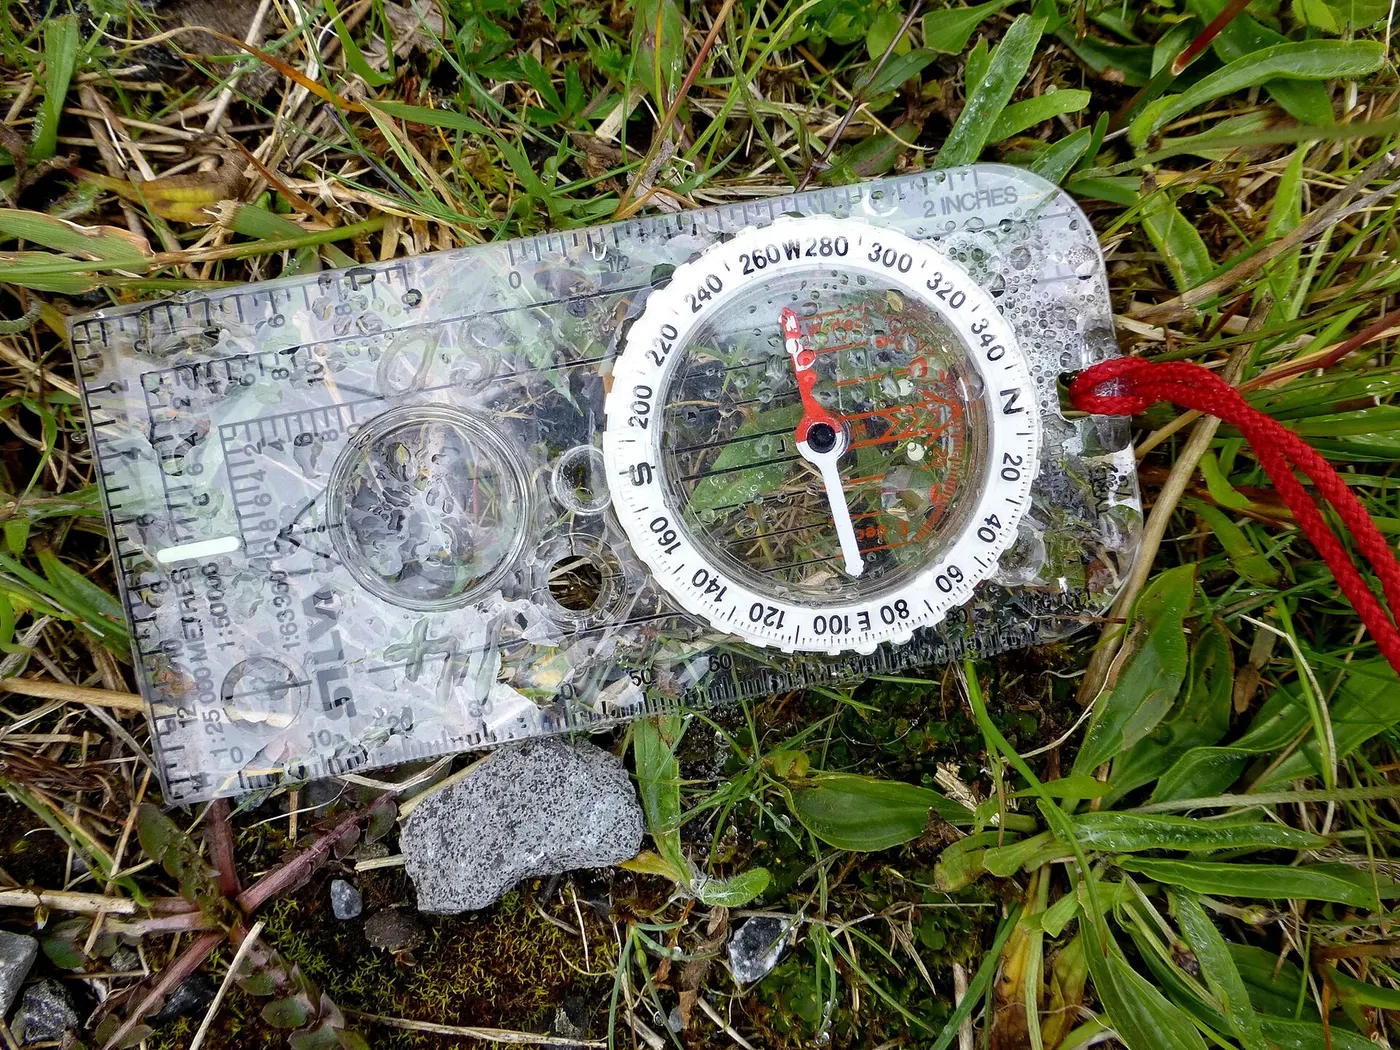
A baseplate compass can help orient a map and follow a direction, but it is not a substitute for understanding terrain or reading the map. Learn the parts and method from the compass manufacturer or a qualified navigation course. Practice near familiar paths in good visibility before using the skill in unfamiliar or remote terrain. Magnetic interference, declination, map grids, and local conventions can affect how a bearing is set and interpreted.
Check the map’s legend and north reference before using a compass with it. A map may show grid north, true north, or another reference; your compass points toward magnetic north. The relevant declination and how to apply it depend on location and method. Use a current authoritative source or the instructions for your navigation system rather than relying on a value remembered from another region.
Orient the map carefully
Place the map flat and away from vehicles, metal objects, and devices that may affect the compass. Align the compass edge with the map’s north-south grid or the direction specified in the method you learned. Rotate the map and compass together until the needle and orienting lines match according to the compass instructions. Check the result against large visible features; a map that appears inconsistent with the landscape needs another look.
Do not rush this step at a junction or in poor weather. If the needle behaves unexpectedly, move away from possible interference and check again. Keep the map oriented while you identify the route and the next landmark. A single bearing can become misleading if you have not confirmed your starting point or the terrain blocks a direct path.
Use a direction as one piece of navigation
When following a bearing, choose visible intermediate features where possible and compare progress with the map. A compass direction does not identify cliffs, water, private land, closures, or safe crossings. Follow the maintained route when that is the plan, and do not leave it because a bearing looks shorter. In dense forest, featureless terrain, snow, or low visibility, navigation can demand skills beyond a beginner overview.
Carry a suitable map and keep a backup plan for damage, loss, or poor visibility. If the group cannot confidently identify its location, stop and use the procedure practiced in advance. Returning to a known point may be safer than continuing. For routes where a navigation error has serious consequences, obtain formal instruction and choose equipment for the conditions.
Separate map orientation from route choice
Turning a map until it matches the landscape helps you read nearby features; it does not by itself tell you which trail to follow. Confirm the trail name and junction using the official description, signs, and terrain. A compass direction can guide you only after you have a reliable starting point and a route that is appropriate to travel. Do not leave a maintained trail simply because a straight bearing appears shorter.
Practice the full sequence at home: identify the map’s north reference, set the compass according to the instructions, orient the map, and compare it with known features. If your map uses a grid and the compass uses magnetic north, learn how the relevant declination is handled in the method you are using. Declination varies by location and changes over time, so do not copy a remembered number from another map or trip.
Watch for sources of error
Metal objects, vehicles, phones, speakers, and some electronic devices can interfere with a compass. Move to a clear place and repeat the reading if the needle behaves unexpectedly. Keep the compass level while you use it, and allow the needle to settle. Check it against more than one feature where possible. A quick reading taken near a car or a steel fence may not be dependable.
Slope and local terrain can also complicate a bearing. A compass does not show whether a direct line crosses a cliff, private land, dense brush, or hazardous water. Use the map to identify obstacles and the trail’s actual shape. In poor visibility or complex terrain, stop if the group cannot keep a clear picture of location and route.
Choose an appropriate learning setting
Practice on a familiar route with clear landmarks and a straightforward exit. Take turns orienting the map so everyone learns the process rather than depending on one navigator. If a reading is confusing, use the map and landscape to find the error rather than adjusting the needle until it supports a preferred answer. Formal navigation instruction is a good next step before remote or off-trail travel.
After the trip, record which map grid and declination convention applied and whether the tool was easy to read. Recheck these details for each new region. A compass carries no local rule or closure information, so pair navigation with current authority updates.
Build skill in low-consequence settings
Practice orienting a map and matching it to landmarks on a familiar route. Note how local declination and the map’s grid are represented. Recheck current destination information before every trip; navigation skills do not confirm that a trail is open or conditions are safe.
FURTHER READING
Sources and scope
These references support the general principles above. Their geography and publication dates vary; check the current local authority for your trip.
- Ten EssentialsU.S. National Park Service
NPS explains this as a starting point that may need additions for a particular activity or place.
- Topographic MappingU.S. Geological Survey
USGS describes its own mapping products; symbol conventions and maps vary by country.
TAKE THE NEXT STEP