Choose Your Gear
Choose Hiking Boots or Trail Shoes
Compare fit, terrain, weather, load, personal comfort, and support preferences; there is no universally correct footwear type.
On this page
Separate footwear category from suitability
Boots and low-cut trail shoes describe broad constructions, not guaranteed levels of safety or comfort. An individual model's fit, sole, stiffness, protection, weight, and weather handling matter alongside the route and your preferences. This article helps narrow the type of footwear to try. A separate testing guide explains how to evaluate a particular pair after selection; the sock guide focuses on the fabric layer inside it.
Write down the surfaces expected on the permitted route: maintained track, uneven stones, mud, steps, or other features identified in the official description. Add the load and likely weather. Then record what you need from footwear without assuming that a taller cuff or a technical label automatically supplies it. A beginner encountering terrain requiring specialist equipment or skills should choose an appropriate easier route or get qualified instruction, rather than treating a shoe purchase as preparation for every surface.
Build a comparison around observable features
Imagine comparing two fictional pairs in a shop. One has a higher collar but presses against your ankle when you bend; the other feels comfortable but has not yet been tested with your intended socks. This is not evidence that either category is better. It identifies two different questions: whether the first pair's shape suits you, and whether the second remains comfortable during a proper test. Keep those questions separate from marketing claims about support.
Note toe space, heel movement, pressure, how the sole bends, and whether the collar interferes with your stride. Ask the retailer how the model is intended to be used and what its return policy permits. Use only a safe demonstration area; a shop test cannot establish traction on wet rock or performance on an unfamiliar trail. REI's footwear guide provides further background on footwear types, components, and fit. Record an unresolved feature as something to check, not a result you have already proved. This produces a shortlist that can be tested gradually instead of a categorical answer based only on boot height.
Start with the route, not the product label
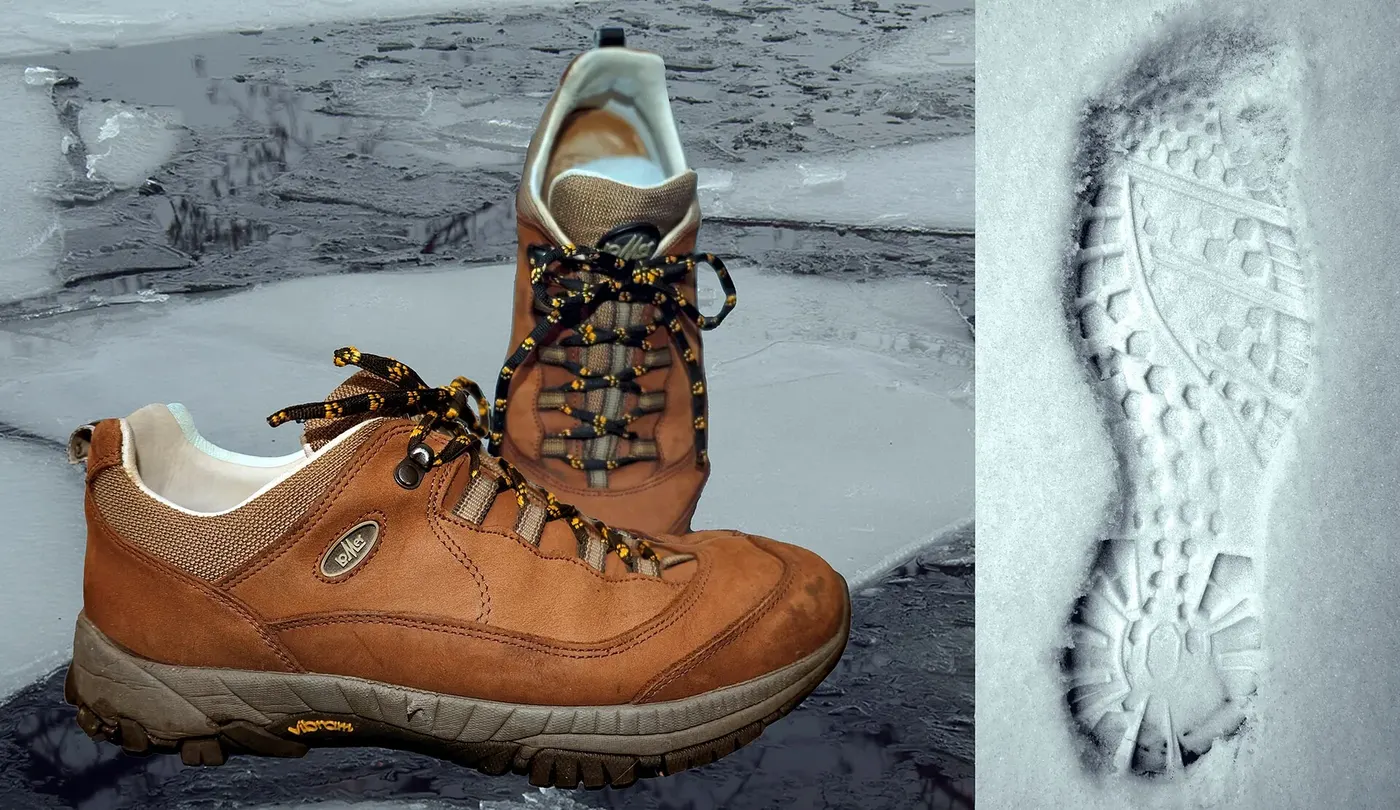
Write down the surfaces and conditions you actually expect: smooth paths, loose gravel, wet roots, mud, rocky steps, or a mixture. A trail shoe may suit a maintained route and a light day pack, while a boot can feel more protective or stable to some people on rough ground. Those are tendencies, not guarantees. Sole shape, tread depth, cushioning, construction, and fit differ among models, and a high ankle does not prevent every twist or fall. Ask what the route requires and which tradeoffs you are comfortable carrying.
Consider how the footwear will be used away from the trail as well. If you travel by public transport or walk to a trailhead, a lighter pair may be easier to wear through the day. If the trip involves cold, persistent rain, snow, or off-trail terrain, seek advice specific to those conditions and verify the manufacturer's limits. Do not assume that footwear marketed for hiking is automatically appropriate for every climate or technical objective.
Check fit with your whole setup
Try both feet late in the day if practical, when they may be a little larger than in the morning, and wear the socks planned for the trip. Leave comfortable room for the toes to spread and move. Walk uphill and downhill on a safe ramp or test surface: toes should not repeatedly strike the front, and the heel should not slide enough to create rubbing. Lacing can change pressure, but it cannot make an unsuitable shape fit.
Pay attention to width, instep height, arch contact, and the shape of the toe box. Sizes are not consistent between manufacturers, and many models are offered in different widths. A salesperson can help with measurements, but comfort on your own feet remains the deciding evidence. Remove the insole only if the maker or fitter recommends it; a visual comparison alone does not establish that a shoe is the right size.
Balance traction, protection, and flexibility
Look at the outsole and upper in relation to the place. Tread can help on loose or uneven surfaces, yet mud depth, worn lugs, and local conditions change how it performs. A firmer sole may protect the foot from sharp ground but feel less flexible; a softer shoe may feel natural on easy terrain but provide less protection under a heavy load. Waterproof membranes can be useful in sustained wet conditions, but they can also slow drying after water enters from above the cuff.
Compare weight and stiffness only after checking fit. Extra structure adds material to carry, and a very light design may not match a demanding route or load. If you are unsure, try several styles in a shop, borrow a pair when possible, or test shoes on short walks before relying on them for a full day. These steps reveal personal comfort better than a feature list.
FURTHER READING
Sources and scope
These references support the general principles above. Their geography and publication dates vary; check the current local authority for your trip.
- Hiking for Beginners: Getting StartedREI Expert Advice
Retailer advice; product categories are illustrative, not endorsements, and recommendations are checked against public sources where possible.
- Backpacking Tips for Beginners: Getting StartedREI Expert Advice
Retailer content and examples; no purchase requirement or product endorsement is intended.
- How to Choose Hiking Boots and Hiking ShoesREI Expert Advice
Read the source in its stated context; examples do not establish worldwide local requirements.
TAKE THE NEXT STEP