
Camping Basics
Choose a Camping Style for Your First Night
Compare developed, car-access, walk-in, and backcountry settings by access, facilities, rules, skill, and gear carried.
On this page
Compare access, facilities, and effort
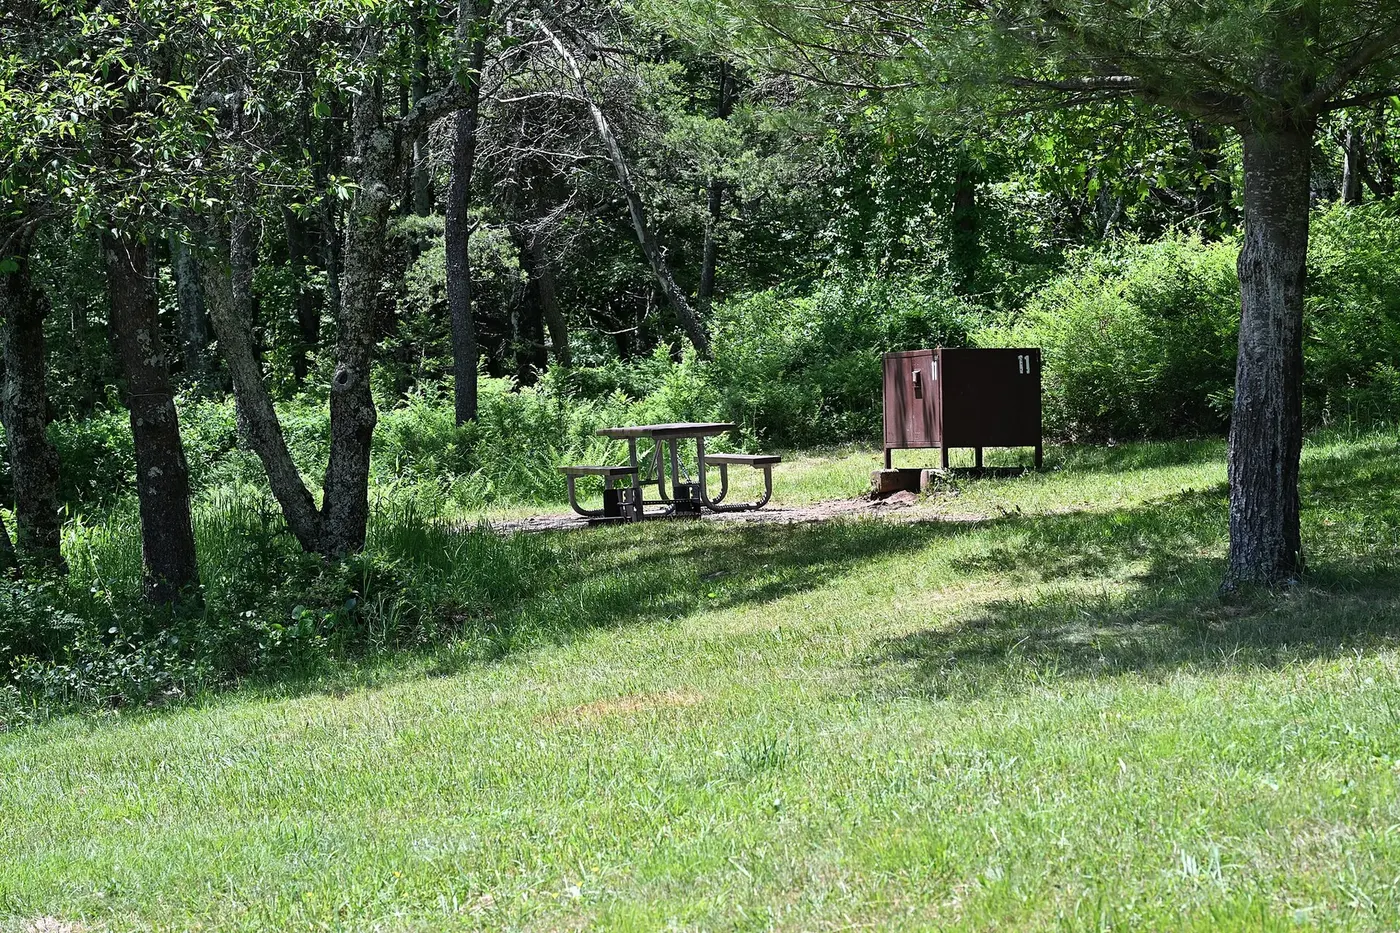
Camping styles vary in how far you travel from a vehicle, what facilities are available, and which skills and equipment you need. A developed campground may provide marked sites, toilets, potable water, or staff, but those features depend on the specific location and season. Car-access camping lets you carry more equipment, while a walk-in site adds a short route with a load. Backcountry camping may require permits, navigation, water treatment, and more self-reliance.
Do not assume that “camping” means overnight access is allowed anywhere. Check the land manager’s current rules for reservations, designated sites, group size, fires, food storage, waste, pets, and arrival times. Rules can differ between nearby areas and can change with weather, fire danger, wildlife activity, or conservation needs.
Choose the first night around the group
For a first trip, a permitted developed or established site close to an easy exit can reduce logistical complexity. Consider who is coming, how they sleep, how far they can comfortably carry equipment, and whether toilets, accessible paths, or other facilities are needed. A site that fits those needs can make the trip more enjoyable than a remote location chosen only for scenery.
Check route length, surface, elevation, transport, water availability, and likely arrival conditions. If the campsite is walk-in, practice carrying the intended load on a familiar route. If a booking is required, confirm the exact site and arrival process rather than relying on a map pin alone.
Match the kit to the site
Car camping can support larger shelter and kitchen equipment, but it still requires a weather, food-storage, and emergency plan. Walk-in camping favors a lighter, tested setup. Backcountry trips require equipment and skills appropriate to navigation, water, weather, and local hazards. The Ten Essentials framework can help prompt a check, but adapt every system to the destination.
Confirm, share, and keep a backup
Recheck official conditions and access close to departure. Share the route and expected return with a contact when appropriate. Identify a backup site or postponement trigger if the booking, road, trail, weather, or group conditions change. Afterward, note what the camping style required so the next trip can build on real experience.
Compare the work involved, not only the scenery
For each possible site, write down how you arrive, where you sleep, how you get water, what facilities exist, and how you would leave if the plan changes. A vehicle-access campground can make it easier to carry bulky equipment but may still require a reservation or a long drive. A walk-in pitch adds carrying distance and route finding. A backcountry stay may bring more independence along with permits, navigation, water treatment, and a larger responsibility for contingency planning.
Ask the land manager what the terms used locally mean. Labels such as primitive, wild, serviced, or backcountry do not have a single worldwide definition. Check the actual site description, access map, seasonal opening dates, and posted conditions instead of assuming a name guarantees a toilet, water tap, fire ring, or staff presence.
Match facilities to the people coming
Think about mobility, sleep, temperature, food, privacy, and comfort needs for every person in the group. A nearby toilet or level accessible surface may be essential for one participant. A quiet, familiar site may make a first overnight easier than a remote setting chosen mainly for its view. Ask the group what would make the night manageable and consider accessibility information from the site operator directly when the published details are incomplete.
Plan travel and arrival realistically. Check whether the road, transit, parking, gate, or check-in process is available at the time you expect to arrive. If the route from a car park to a pitch is part of the outing, estimate what the gear weighs and whether the group can carry it. Leave time to set up before darkness or a change in weather where possible.
Choose a setting that lets you practice
A beginner trip can be a chance to learn one or two skills without adding every possible challenge. At an established site, practice pitching the tent, using the stove, organizing food, and managing a wet layer. For a walk-in or remote site, practice the whole system first: carry the loaded pack, identify equipment without unpacking everything, and follow the route on a map or approved offline navigation.
Do not treat a practice trip as proof that another location will be equally easy. Terrain, altitude, climate, water access, wildlife, and local restrictions vary. Build experience gradually and take instruction for technical skills that the trip depends on.
Compare costs and environmental limits
Include campsite fees, transport, permits, food, fuel, and possible equipment rental in the decision. Borrowing or renting can help you learn what you use before purchasing a full setup. Confirm refund and cancellation terms, especially if a forecast or closure could change the plan. Avoid making a nonrefundable booking before you understand the site’s access and restrictions.
Use designated or established sites as directed by the land manager. Some sensitive landscapes allow camping only in specific places or prohibit overnight stays altogether. Follow boundaries, fire rules, waste systems, and food-storage requirements even when a site appears unused. A low-impact plan begins with permission to be there.
FURTHER READING
Sources and scope
These references support the general principles above. Their geography and publication dates vary; check the current local authority for your trip.
- Before the TripU.S. National Park Service
US park guidance; requirements and outdoor contexts differ globally.
- Camping for BeginnersREI Expert Advice
Retailer advice; products and techniques are examples, not endorsements.
TAKE THE NEXT STEP